
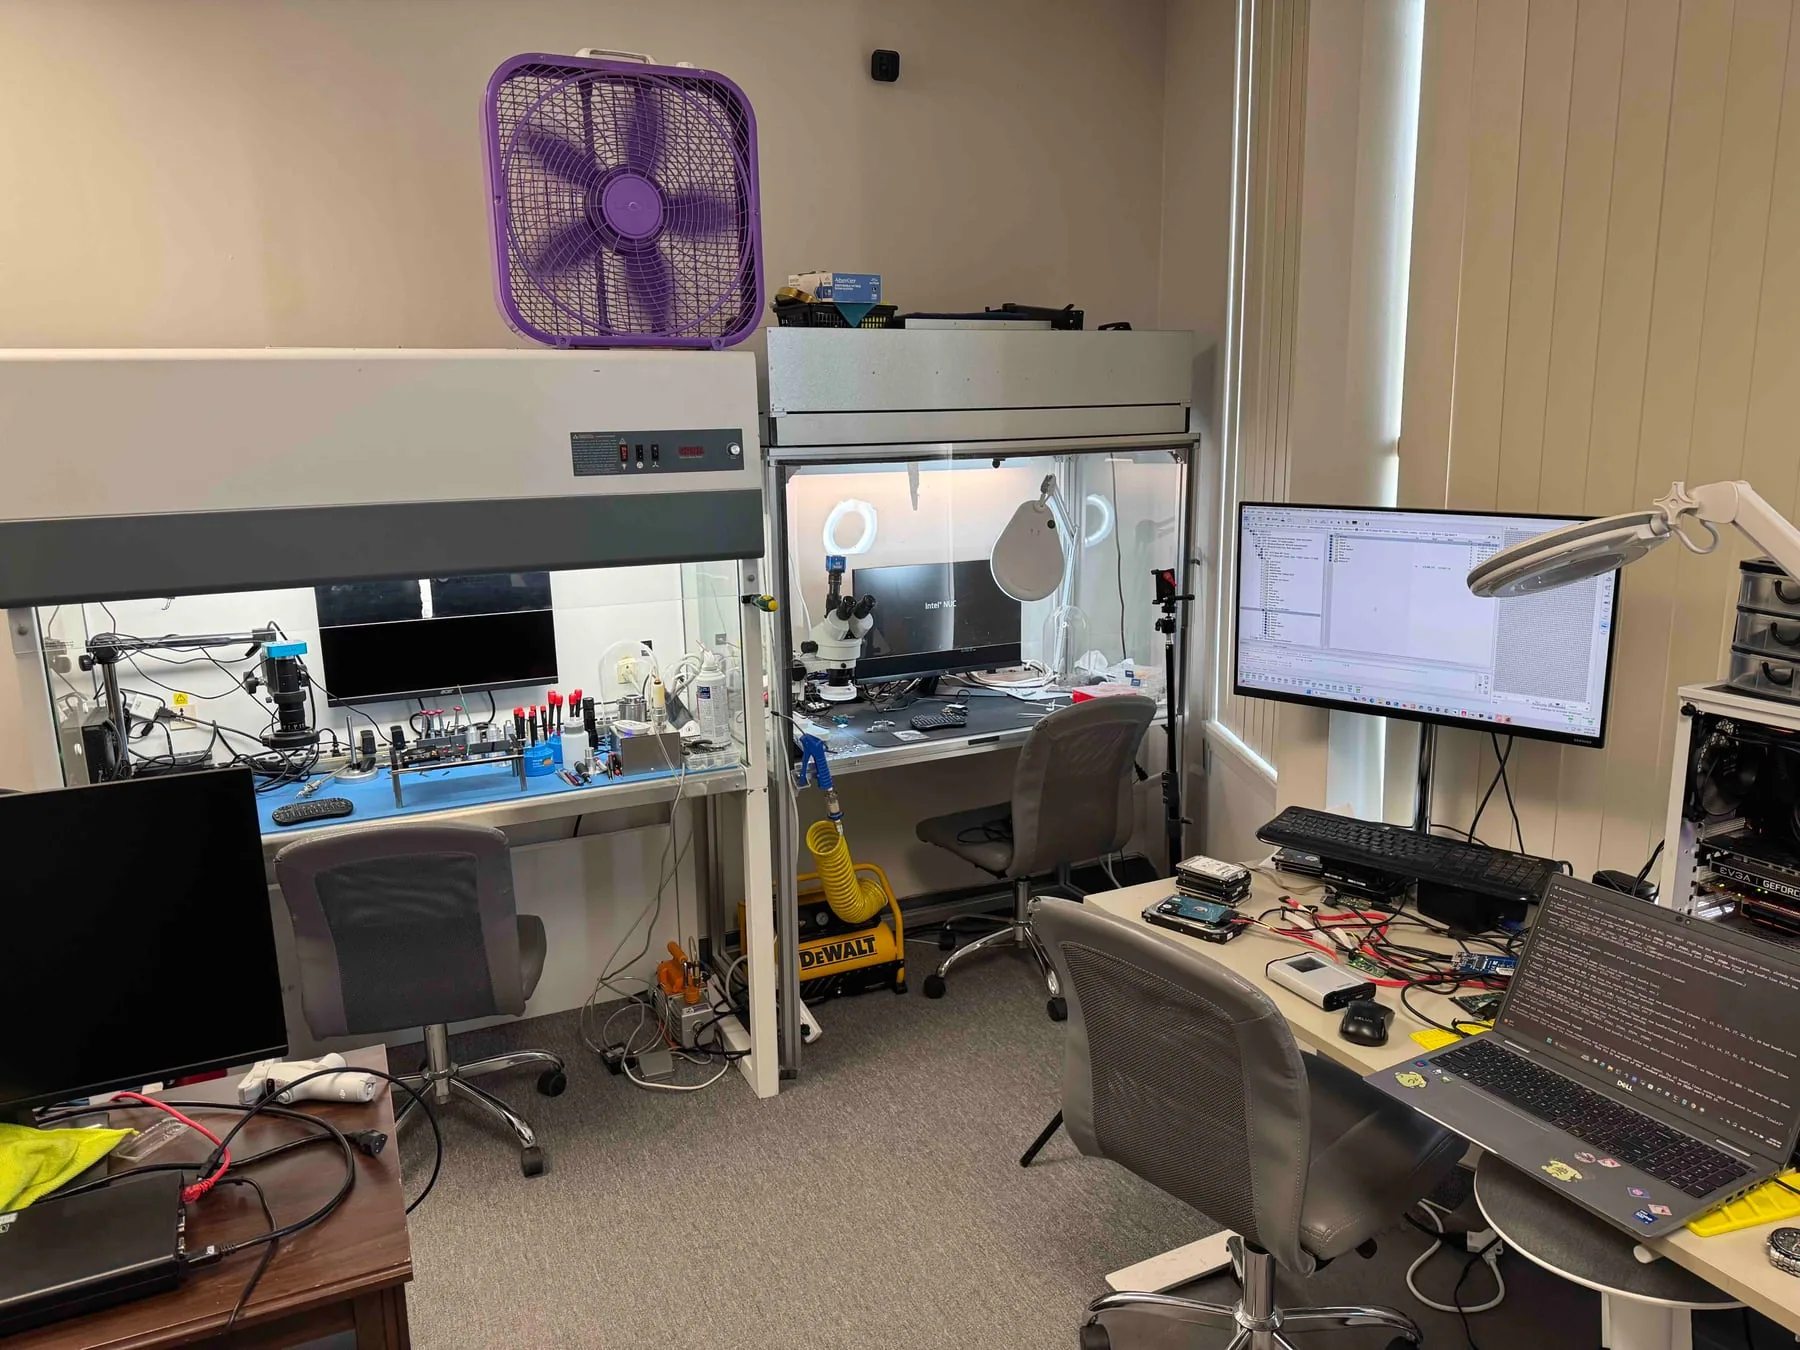
A real recovery lab brings together diagnostic equipment, controlled imaging systems, clean-bench handling, board-level tools, and technicians who choose a workflow based on the failure.
Last updated September 6, 2026. Reviewed by Michael Avraham, Lead Data Recovery Specialist at OmniDataPlus.
Quick answer
A real data recovery lab starts with the full story, controlled diagnosis, and a risk-based plan. The right path depends on what happened before the device arrived, not just what the device does when it is plugged in.
- Tell the lab about drops, liquid exposure, previous repair attempts, rebuilds, scans, and power-on history.
- Do not hide details out of fear that the quote will be higher.
- A complete history can prevent the wrong diagnosis path, such as powering a mechanically failed drive.
Step one: understand what happened
The intake history matters. A dropped drive, failed RAID rebuild, liquid-damaged phone, disappearing SSD, and accidentally formatted card can all require different first actions. The lab documents the symptoms, previous attempts, and priority data before deciding how to proceed.
Tell the lab the complete story
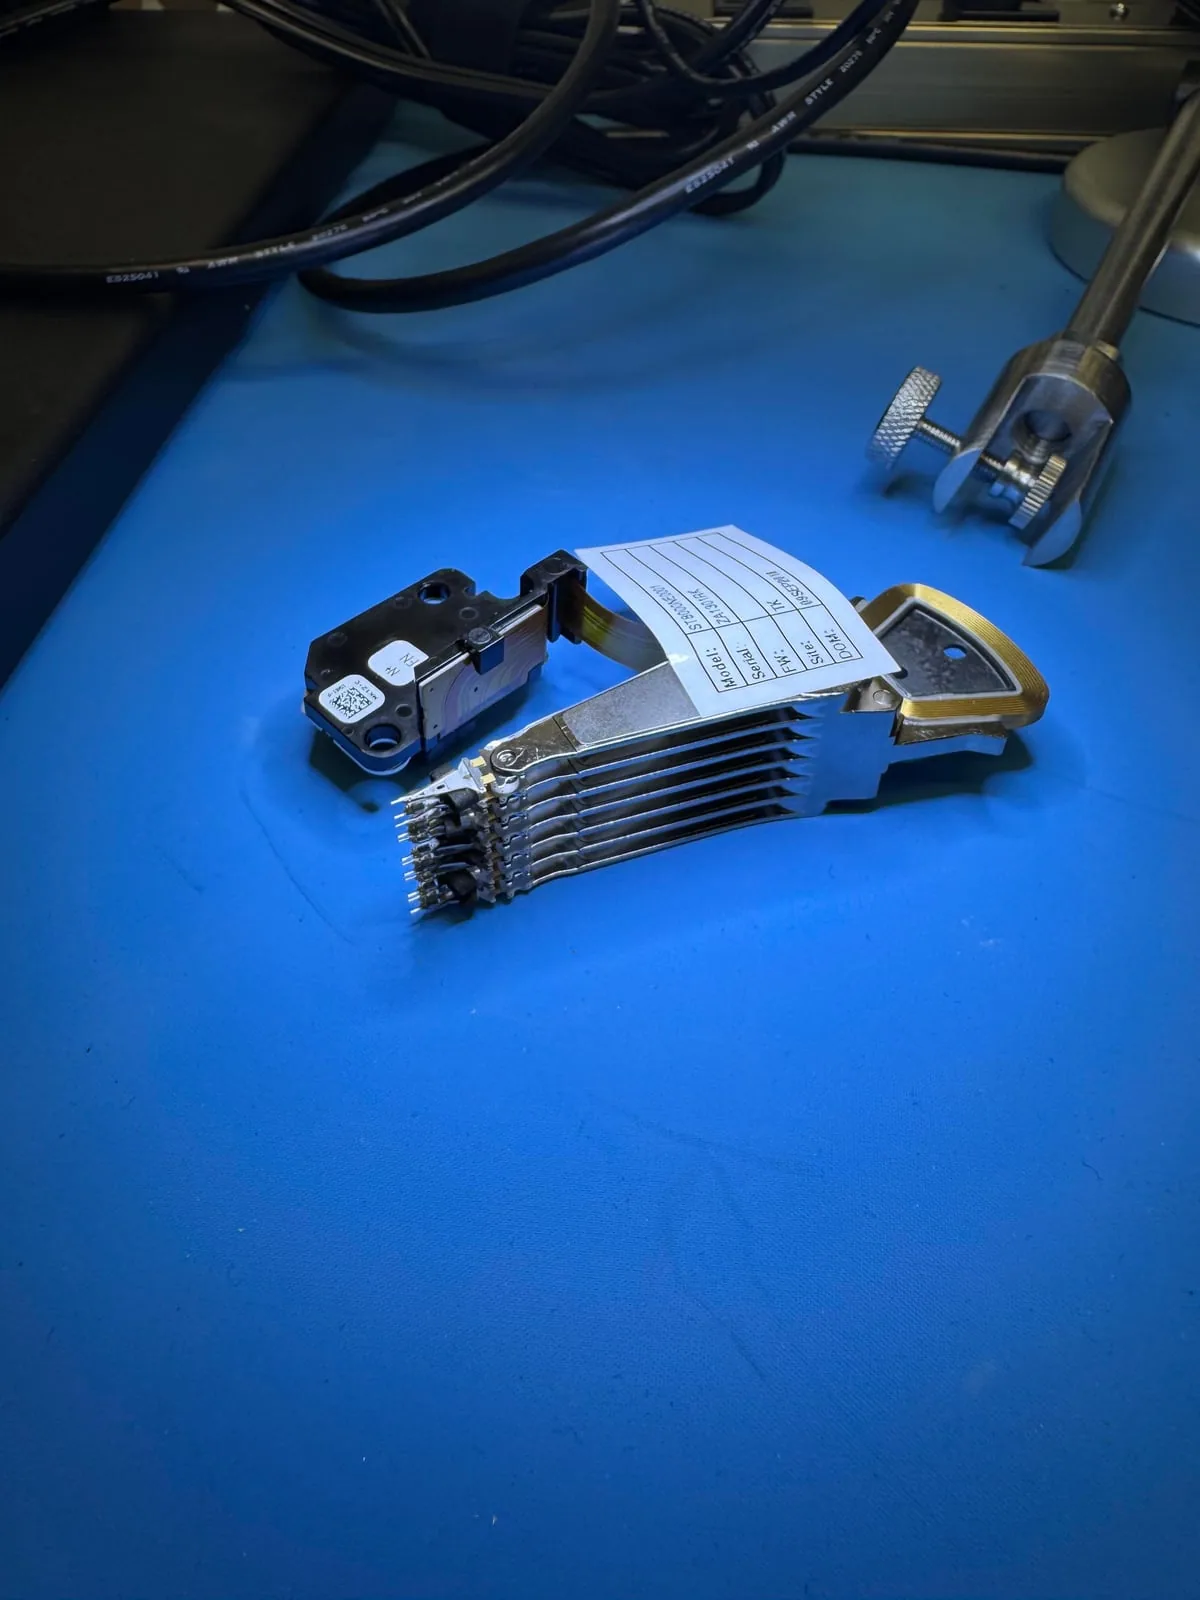
Some customers hesitate to mention a drop, liquid exposure, previous repair attempt, unusual sound, or software scan because they worry it may increase the quote. However, an experienced technician can usually identify evidence of what happened during assessment. Providing the complete history from the beginning helps the lab choose the safest diagnostic path and reduces avoidable risk. For example, powering on a mechanically failed hard drive is not a routine diagnostic step: it can cause further media damage and turn a recoverable case into permanent data loss.
Step two: diagnose without causing unnecessary stress
The goal of diagnosis is to identify the likely failure type and recovery tier. A device may need logical reconstruction, controlled imaging, firmware-level access, board-level repair, flash analysis, or physical handling.
Step three: preserve the source device
Recovery work normally aims to create a stable copy before working deeply with files. Unstable drives may be imaged carefully, weak areas may be approached strategically, and important folders may be prioritized when appropriate.
Different tools serve different failures
- PC-3000 systems support professional HDD and SSD diagnosis and access
- DeepSpar imaging tools support controlled reading of unstable media
- Rusolut VNR supports advanced flash and NAND cases
- An ISO Class 5 clean bench supports controlled mechanical handling
- Microsoldering tools support connector, power, and board-level faults
Step four: reconstruct and verify files
Once the source data is stabilized or imaged, the lab works to reconstruct usable files and folders. Recovered data is checked, with attention to the files the customer identified as most important.
Step five: secure return and clear communication
The customer receives an explanation of the available result and the recovered data is returned securely. No unnecessary recovery work should proceed without customer approval.
A professional lab cannot guarantee every recovery. What it can provide is an evidence-based diagnosis, appropriate tools, controlled handling, and honest expectations.
Why the complete story protects the recovery
A competent technician can often find evidence of what happened, but knowing the history early reduces risk. If a drive was dropped, clicked, opened, rebuilt, scanned, or exposed to liquid, that information can prevent unnecessary power-on attempts and protect the remaining chance of recovery.
North York data recovery lab
Need a real lab diagnosis? Bring the full story.
Free diagnostics are available at OmniDataPlus. Bring the device in as-is, or contact the lab before attempting another power-on, scan, rebuild, or repair.